

In 2025, Vancouver residents are paying more attention to outdoor renovations, and paving is at the top of the list. Whether you’re planning to update a worn-out driveway or install a modern backyard patio, proper planning and technique are crucial. With fluctuating weather, strict city guidelines, and high material costs, it’s more important than ever to do it right. In this guide, you’ll learn key steps to make your Vancouver paving project a success—saving you time, money, and future repairs.
Let’s dive into 8 essential tips that will help your project run smoothly from start to finish.
Table of Contents
1. Plan Your Project Thoroughly
Start with a Clear Vision
Begin by identifying the purpose of your paved space. Will it be for vehicle use, a sitting area, or a pathway? Each has different material and durability requirements. For instance, a driveway must withstand heavy loads, while a patio can prioritize aesthetics.
Set a Realistic Budget
Costs in Vancouver can vary depending on the scope and materials. Always account for excavation, drainage, base layers, and sealing—not just the surface material. Add a 10-15% buffer to your budget to prepare for any unexpected issues like soil instability or material shortages.
2. Choose the Right Materials
Match Materials to Vancouver’s Climate
Vancouver’s wet winters and fluctuating temperatures mean you need materials that won’t crack or shift easily. Asphalt remains a top choice for driveways due to its flexibility, while concrete works well for walkways and patios. Permeable pavers are trending in 2025 because they help manage rainwater runoff and reduce flooding risks.
Understand Long-Term Maintenance
Choose materials based on how much time you’re willing to spend maintaining them. For example, stamped concrete looks great but can fade and crack over time, requiring resealing. Pavers can be replaced individually, which makes long-term repairs easier.
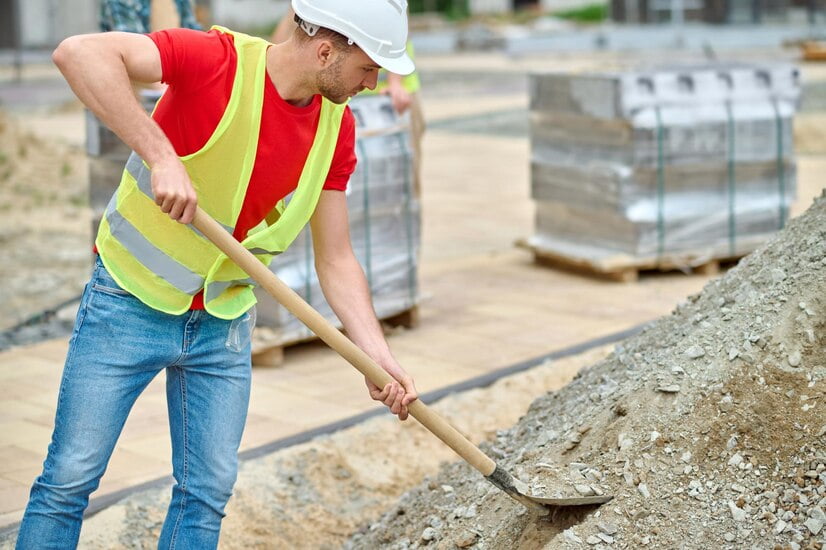
3. Prepare the Site Properly
Clear the Area Thoroughly
Remove grass, roots, rocks, and debris. Neglecting this step could result in shifting or sinking later. Use proper tools or hire a professional to avoid leaving organic matter behind that might decay.
Compact the Soil for Stability
Once cleared, compact the soil using a mechanical compactor. This prevents air gaps and ensures a solid foundation. For Vancouver paving projects, adding a geotextile fabric between the soil and gravel layer can improve drainage and keep the base materials from mixing with soil.
4. Install a Strong Base
Gravel Base is Key
Use a minimum of 4-6 inches of crushed gravel for patios and at least 8 inches for driveways. Compact each layer in stages. This base allows water to drain and supports the top layers from shifting during freeze-thaw cycles.
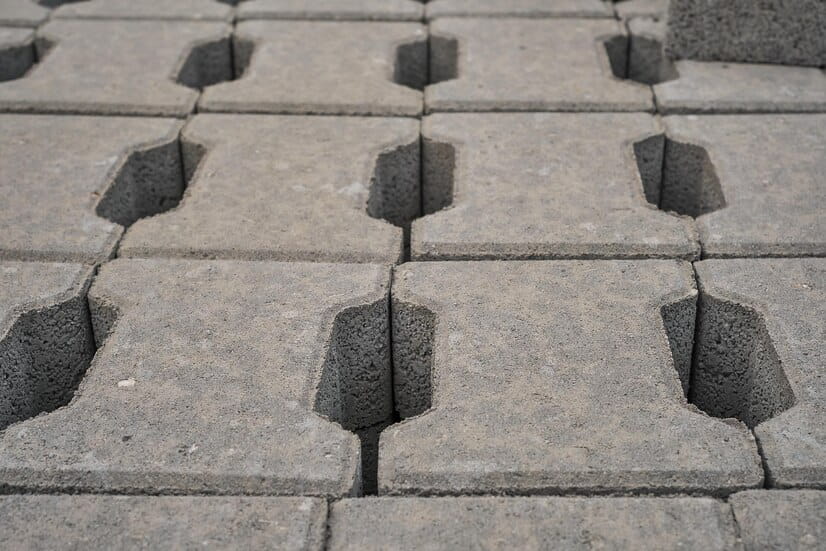
Sand Layer for Pavers
If using pavers, lay a 1-inch layer of bedding sand over the compacted gravel. Screed it to ensure a flat, even surface before placing the pavers. This allows easy adjustments and keeps everything level.
5. Follow Proper Installation Techniques
Use the Right Tools and Patterns
From screeds to vibratory plate compactors, using the right tools makes a huge difference in quality. Also, lay pavers or slabs using a staggered or interlocking pattern to maximize durability and reduce shifting.
Install Edge Restraints
Don’t overlook edge restraints—they keep the outer pavers locked in place and prevent gradual spreading. Use metal or plastic restraints and anchor them into the gravel base, not just the sand layer.
6. Ensure Proper Drainage
Slope the Surface Slightly
Plan for at least a 2% slope (about 1/4 inch per foot) to direct water away from buildings. Improper drainage is a common reason for pavement damage in Vancouver, especially with the city’s heavy rainfall.
Incorporate Smart Drainage Solutions
Consider adding trench drains, French drains, or catch basins. In 2025, more homeowners are integrating smart drainage systems that monitor water levels and help prevent water buildup before it becomes a problem.
7. Seal and Protect Your Paving
Apply Sealant Based on Material
Asphalt surfaces need to be sealed every 2–3 years. For concrete, use a breathable sealant that allows moisture to escape. Pavers benefit from joint stabilizing sealers that reduce weed growth and surface stains.
Perform Seasonal Maintenance
Check your paved areas in spring and fall. Clear leaves and debris, repair small cracks before they expand, and reseal when needed. In Vancouver, where moss can grow due to damp conditions, power-wash surfaces yearly to maintain aesthetics and safety.
8. Know When to Hire a Professional
DIY vs. Pro: Know the Line
Installing a few square feet of pavers may be manageable on your own. But if you’re dealing with sloped land, multiple drainage issues, or large driveways, it’s wise to call in experts. Mistakes in grading or base prep can lead to costly repairs later.
Choose a Trusted Vancouver Contractor
Look for contractors who are licensed, insured, and have solid local reviews. Ask for examples of past work, especially projects similar to yours. A reliable contractor will walk you through materials, timelines, and realistic pricing.
For expert insights, check out this directory of certified Vancouver paving contractors from the Better Business Bureau.
Final Thoughts
Vancouver paving projects can dramatically boost your property’s curb appeal, safety, and functionality. But success depends on smart planning, the right materials, and solid installation. Whether you’re updating your front driveway or building a new backyard patio, follow these 8 steps to avoid mistakes and get long-lasting results.
By taking your time in the early stages and staying informed with updated methods, your 2025 paving project will be smoother, safer, and more satisfying than ever before.